Alignment Tips for Headstand and Shoulderstand
You do not have to be a student of yoga asana to be aware of how problems with your neck can interfere with your day-to-day functioning. At one time or another each of us has awakened with a “stiff neck” or referred to a project as a “pain in the neck” because it seemed to create one. Babies hold their head and necks in a beautiful line. What happens that causes us to lose this alignment and comfort as we grow up?
You do not have to be a student of yoga asana to be aware of how problems with your neck can interfere with your day-to-day functioning.
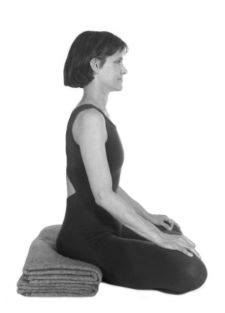
Next time you are in public, notice the sitting posture of those around you. You will see that it rarely reflects the elongated head and neck posture of a baby. All the slumping, leaning, and looking forward and up toward a blackboard or computer screen that we do takes its toll. To better understand how to alleviate and prevent neck pain, a quick review of anatomy may be helpful.
The neck or cervical spine consists of seven vertebrae, which are stacked in a curved structure from the skull to the top of the shoulders. In between all but the skull and first cervical vertebra are the intervertebral discs, fat juicy cushions of connective tissue, which help both to keep the vertebrae in place as well as to facilitate a normal range of movement. The cervical spine is the most mobile of all the spinal segments: we can flex, extend, rotate, and bend the neck through a stunning range of motion. Few animals have a greater range of neck movement than we do.
Perhaps the most salient fact to remember about the cervical spine is that it is a curved structure, with the concavity of the curve at the back side of the neck. When the neck is at rest, it is in a slightly curved position, which anatomists call the “normal curve” because it is the neutral state for the neck. Whenever you move your neck away from this curved neutral position, stability is lost because you have separated either the bodies of the vertebrae at the front of the neck or the facet joints at the back of the neck. (More on facet joints later.)
Of course, in order to move the neck and head to carry out our regular activities, this curve must be altered. And we could not perform yoga asana if we were not willing to disturb the curve. However, learning to move the cervical spine in a way that honors and maintains its basic curve as much as possible is the most effective way to restore health to the neck and to prevent injury. Here are some tips on how to protect the neck while practicing some of the popular yoga asanas that most directly affect it.
Finding a Balance Between Arms and Head in the Headstand
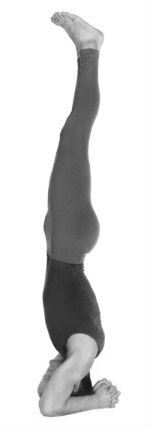
The headstand (shirshasana) is probably the pose most associated with yoga in the minds of non-practitioners. When I began to practice it I felt that I was doing “real” yoga at last. Besides the usual contraindications (menstruation, pregnancy, high blood pressure, hiatal hernia, pressure in the eyes, or retinal problems) the headstand is not recommended for those with neck problems. But the rest of us can practice it if we proceed with caution and awareness.
In the beginning I advise students to use the wall so that balance is not the primary focus in the pose. I also suggest that they put very little weight on their head. Not only does this develop arm strength but it also creates the habit of lifting the shoulders toward the ceiling. This lifting helps take the weight off the neck and place it onto the shoulder girdle. In a funny way, the headstand is also a “shoulderstand” because of the continued importance of using the shoulders in a strong lifting action. Gradually as confidence and strength increase over time, you will naturally put more and more weight on the head. When you eventually develop a refined headstand you will realize that it is not really possible to say whether the weight is felt on the head or on the arms—there is just a headstand.

Another important point to remember is that the head should be directly under the body in shirshasana. Ask your friend or teacher to look at your headstand from the side; she or he should be able to see two things. First, that your upper arms should be as vertical as possible. The more the upper arms drop away from the vertical, the more compression is felt on the neck. Second, your ear should be partially obscured by your upper arm.
If your entire ear is visible from the side, it may mean that your head is placed too far forward into your hands and thus is not directly under your body. When this happens, the neck is supporting weight unevenly, which can cause injury and/or discomfort. If your observer can see your entire ear, come down, take several breaths, and before you go up again, reposition your head an inch closer to your elbows than before. You may want to practice this at the wall in case the new position has slightly compromised your balance. Remember, balance is not as important as alignment, and the balance will return again quickly.
Finally, look straight out at the room in the headstand, not at the floor or the ceiling. If you are looking at the floor your neck may be too curved; if you are looking at the ceiling your neck may be too flat. Both of these positions compromise the stability of the neck and place undue strain on the soft tissues around the cervical spine, especially the ligaments and muscles.
The Shoulderstand Is Not a Neck Balance
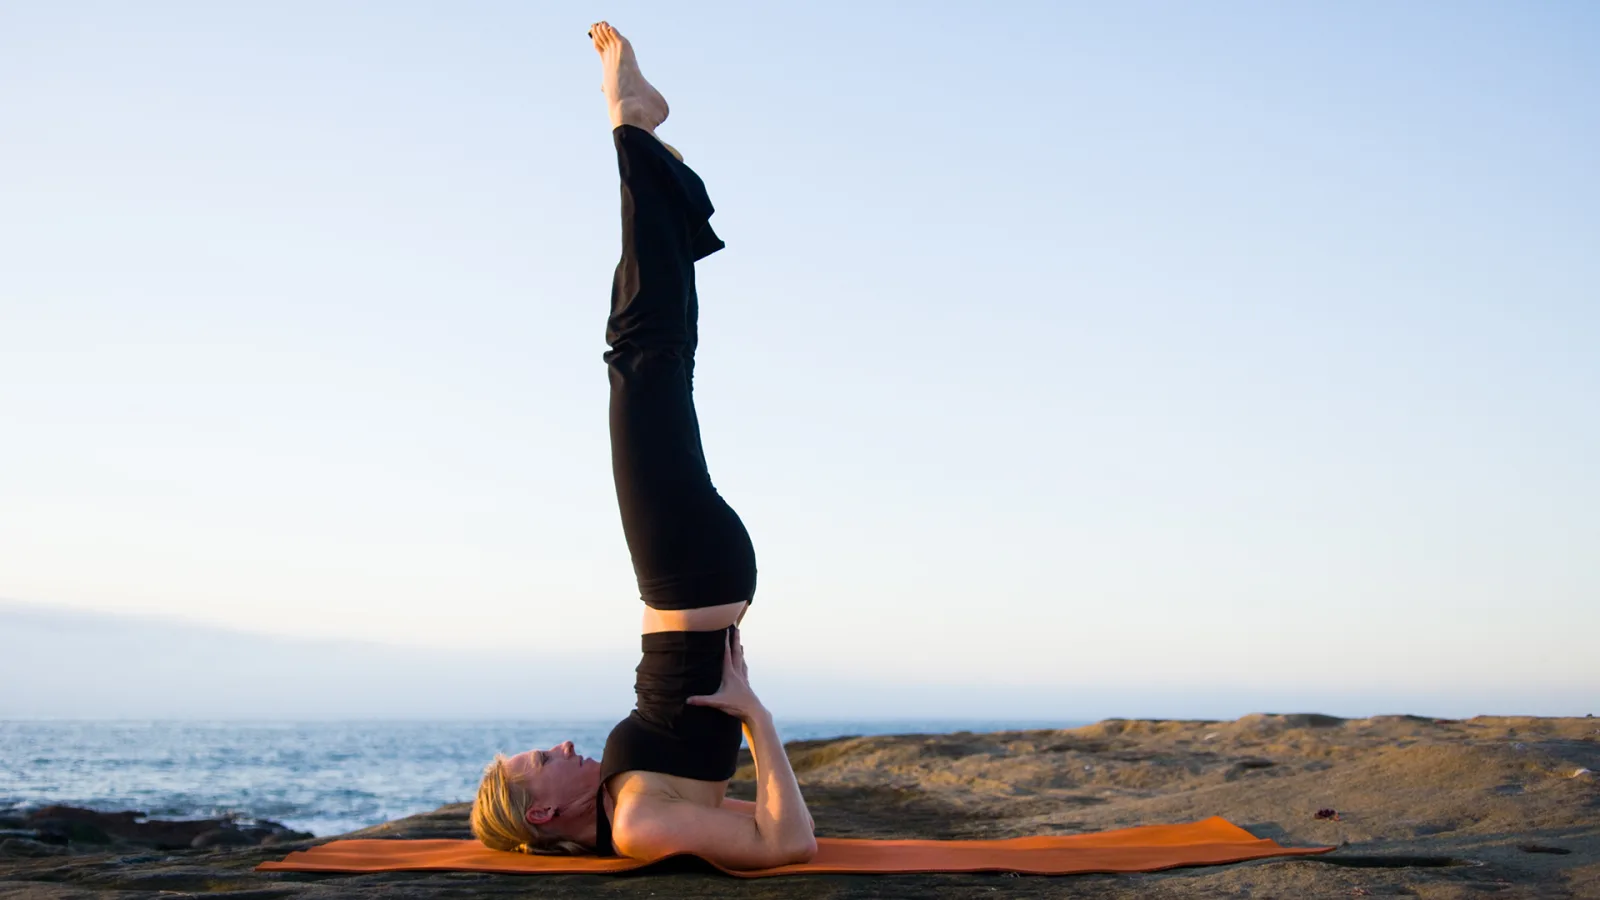
The classic counterpose to the headstand is sarvangasana, or the shoulderstand. During the headstand the neck is positioned in its natural curve (its most stable position), while in the shoulderstand the curve is flattened because the neck is in full flexion. In addition, as some people practice the shoulderstand, the neck is in aweight-bearing position. The deep cervical flexion of the pose vastly decreases the stability of the neck; additionally, the weight-bearing position increases its vulnerability to injury. (The contraindications for the headstand, listed above, also apply for the shoulderstand.)
To avoid potential injury, I recommend the use of blankets under the shoulders in the shoulderstand. I know that many people balk at the use of props in general and blankets in the shoulderstand in particular, but there are two reasons I find it beneficial.
To avoid potential injury, I recommend the use of blankets under the shoulders in the shoulderstand.
First, normal cervical flexion occurs only to a maximum of about 50 degrees, not the 90 degrees that some people envision. To bring the chin any closer to the chest than 50 degrees requires recruiting some flexion from the upper thoracic vertebral joints. This rounding or flexion of the upper back is the opposite of what is preferred in the shoulderstand.
I suggest placing enough blankets under the shoulders so that the student’s neck reflects the natural angle of flexion. Start with five firm, thick wool blankets and adjust from there, adding or taking away blankets as necessary. The blankets should support the shoulders, allowing the neck to be free in the pose. (A bolster placed perpendicular to the blankets will help you get in and out of the pose.) In the beginning when practicing with blankets, try positioning yourself near the wall so that you can use it to push up with your feet, thus avoiding the use of momentum to get up into the pose.

A teacher can check the back of your neck during the shoulderstand; it should feel soft and loose, not stretched to the maximum. One way to know if five blankets are enough is to have someone observe you from the side; if the base of the neck is slightly higher than the base of the skull, the height is probably protective of the neck.
The second reason I prefer the use of the blankets in the shoulderstand has nothing to do with the neck. When you are sufficiently high, the belly is completely open and it appears that the abdominal organs are “moving up.” If you are not high enough, the belly will look somewhat concave and the belly organs will appear to drop. This is a concern because of the weight the organs and diaphragm can exert on the heart and lungs. When the shoulders are lifted high enough to protect the neck and “lift” the organs, the heart and lungs are better protected.
Additional Tips for Keeping Your Neck Safe in Yoga Practice
Avoid neck rolls One of the most widely practiced poses in yoga is neck rolls—the attempt to move the neck in a virtual 360-degree circle around the body. I do not recommend this movement and here’s why.
A study of the structure of the vertebral joints in the cervical spine, which are called “facet” joints, will reveal that they are softly flattened surfaces angled at 45 degrees (to the horizon). The only movements that are actually possible in the cervical spine are a “forward and up” gliding movement of the facets, which is flexion (chin to the chest), and a “down and back” sliding of the facets like a telescope closing, which creates extension (backbending).
Rotation and sidebending are a combination of these two movements. For example, when you turn your head to the right, the facets on the left side of the neck move forward and up, while the facets on the right side move down and back, collapsing down onto each other. You can picture this by thinking of an airplane making a turn to the right; the left wing lifts up and the right drops. Because the cervical spine works in this manner and because it is not structurally a ball and socket joint (like the hip joints), attempting a 360-degree motion in a neck roll is a non-physiological movement for the neck.
Movements that stretch in one direction at a time are more healthy for the neck because such movements honor the inherent structure of the cervical spine. A special note: When you bend your neck to the side (i.e., drop the ear toward the shoulder), be sure to keep the chin moving moderately down, not up. Moving with the anatomy of the cervical spine in mind will not only help to prevent injury but also may lessen the “grating” one sometimes hears with movement from the joints of the cervical spine.
In the end Finally, the best thing for the neck is to keep it in the neutral position as much as possible, with a slight curve on the backside. If we can preserve this neutral curve when sitting, driving, practicing asana, walking, and even sleeping, it will maximize the potential for a healthy pain-free neck.
