The 5 Best Yoga Poses for Bodybuilders
As a strength and conditioning specialist, I’ve overheard clients comment that bodybuilding and yoga are contradictory activities. The general perception by bodybuilders seems to be that yoga is a means of achieving deep relaxation, rather than providing a "real" workout for muscular growth and strength. While people may bodybuild or practice yoga for a variety of mental and physical gains, the two disciplines actually complement one another quite well. Weightlifting helps to build bulk, and so can also result in shortening and tightening your muscles. This is where yoga comes to the rescue. Yoga releases tight muscles, unleashing your true fitness potential with increased range of motion. A healthy range of motion facilitates the efficient development of muscle strength, ultimately enhancing athletic performance.
Bodybuilders are constantly placing significant tension and pressure on their muscles and joints through repetitive weightlifting, even when done by experienced lifters with proper form. Incorporating yoga poses into an exercise routine can counterbalance this stress on the body by encouraging a focus on deep, full breathing, the stabilizing and aligning of muscle groups, and the protection of skeletal joints.
Here are a few of the best yoga poses to complement your bodybuilding routine:
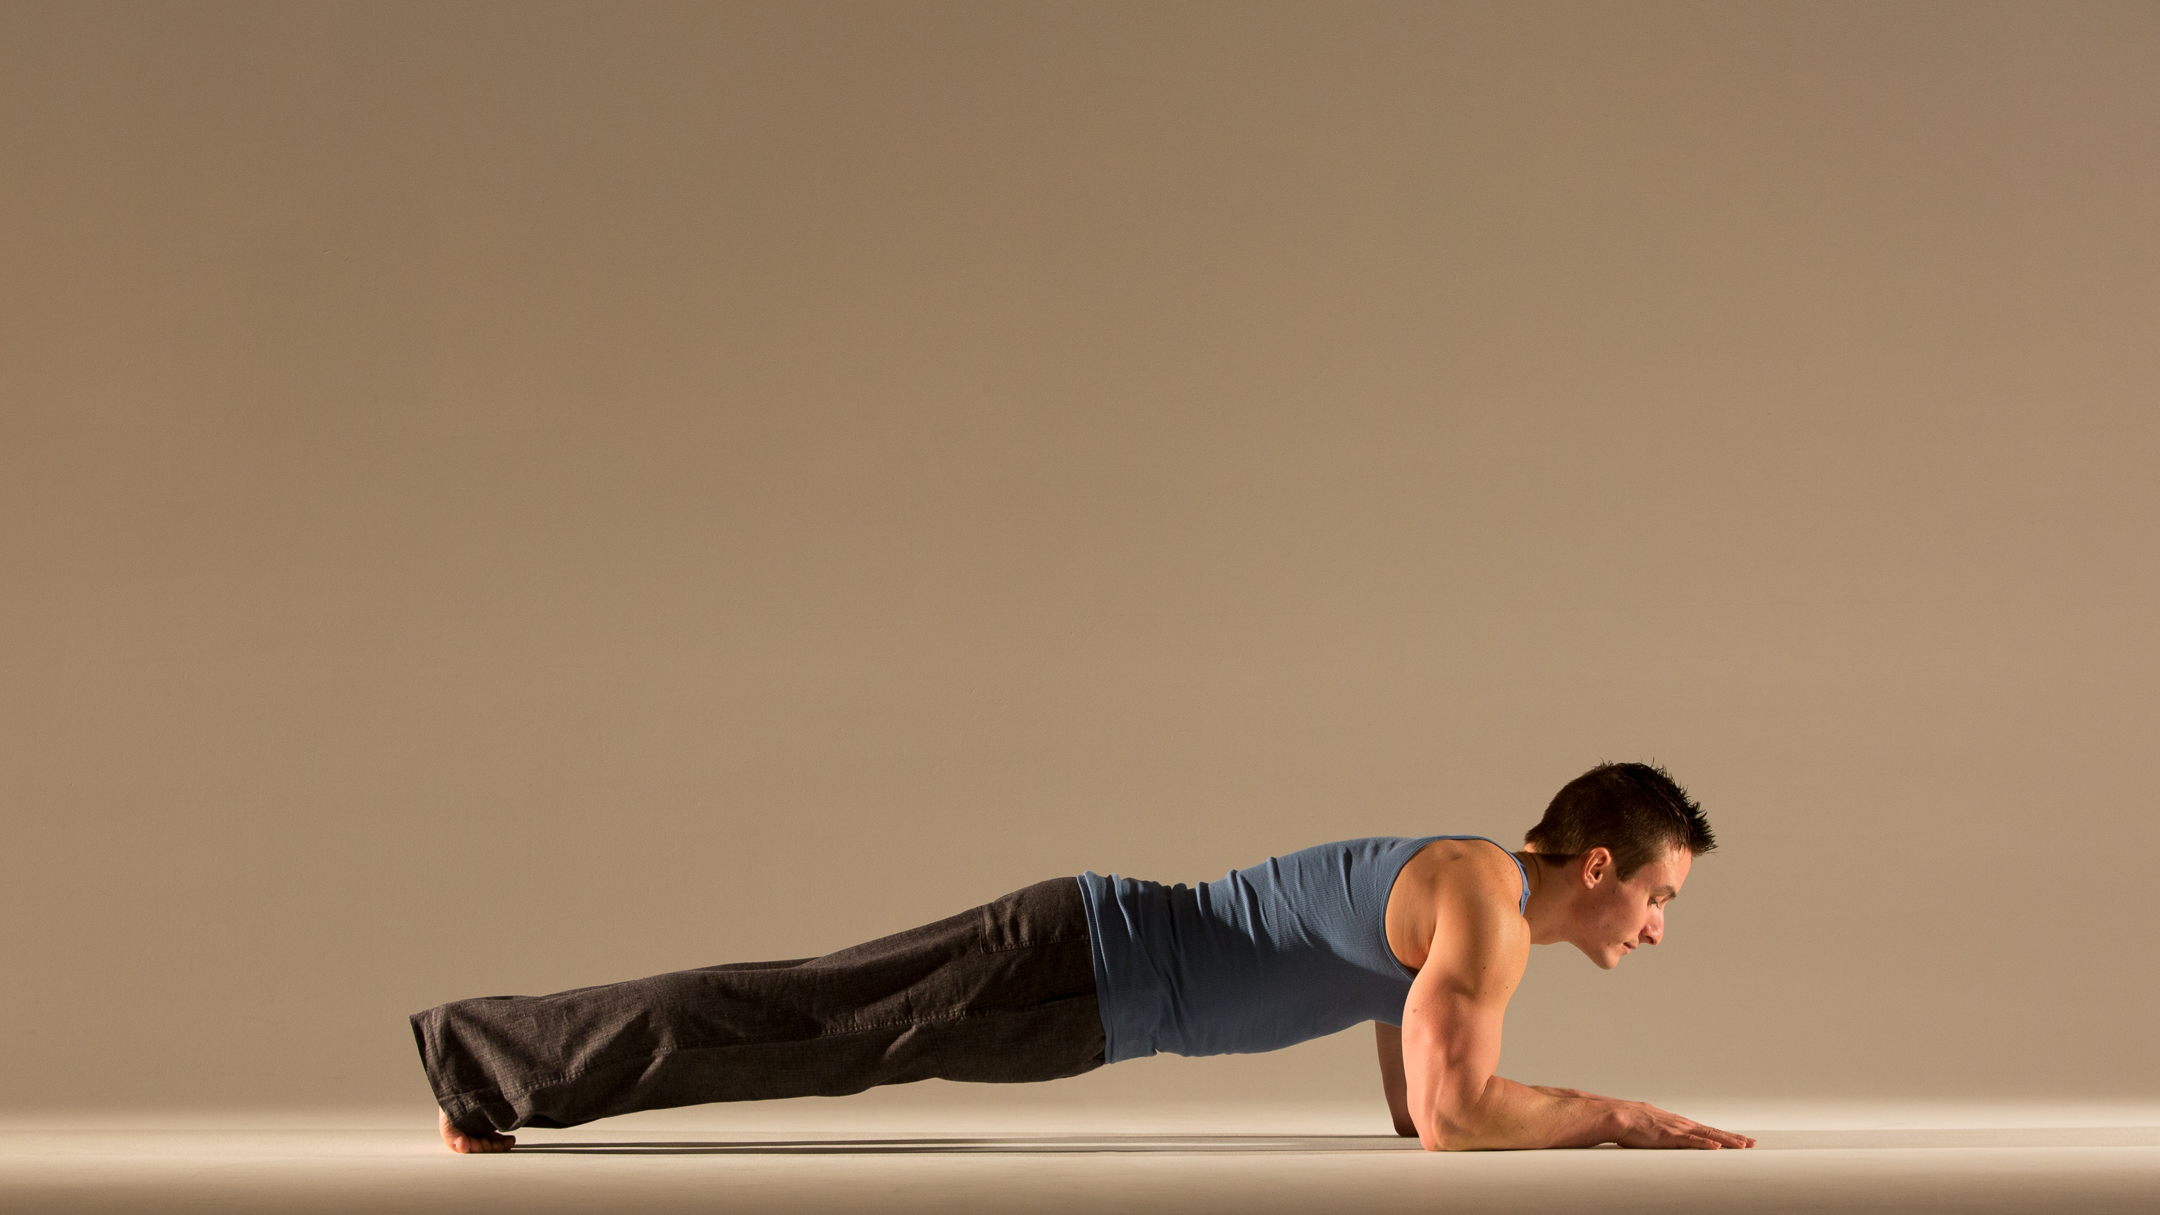
1. Plank Planks contribute to a strong core by strengthening your deep abdominals and spine stabilizers, and thus support strenuous bodybuilding exercise. This posture will also help you condition the muscles around both the shoulder blades and the collarbones, which tend to receive less attention during exercise. In general, holding planks develops isometric strength in many of the posterior muscle groups, such as the muscles along the spine, the shoulders, and the glutes. You can also practice side planks to activate your obliques, as well as further stretch the sides of the body and increase overall flexibility.
For plank, assume a push-up position, then bend your elbows and lower down onto your forearms. Stack your shoulders over your elbows, and your heels above your toes. Keep your head in line with your spine (not dropping down or looking up), so that your body is in one long line. Keeping your abdominals engaged to support your lower back, hold for about 20 seconds. Being mindful at all times of your alignment, you can gradually increase your hold time for the pose to about two minutes.
After you grow more comfortable with traditional planks, try side planks. Lie on your right side, keeping your legs straight and fully extended. Rest on your forearm with your elbow directly under your shoulder. Prop your body up, making sure your abs are contracted the entire time. Your body should form one line, without raising or dropping your head (also making sure your hips don’t drop). Hold the pose for around 30 seconds, and then lower down. Repeat two or three times, alternating sides.

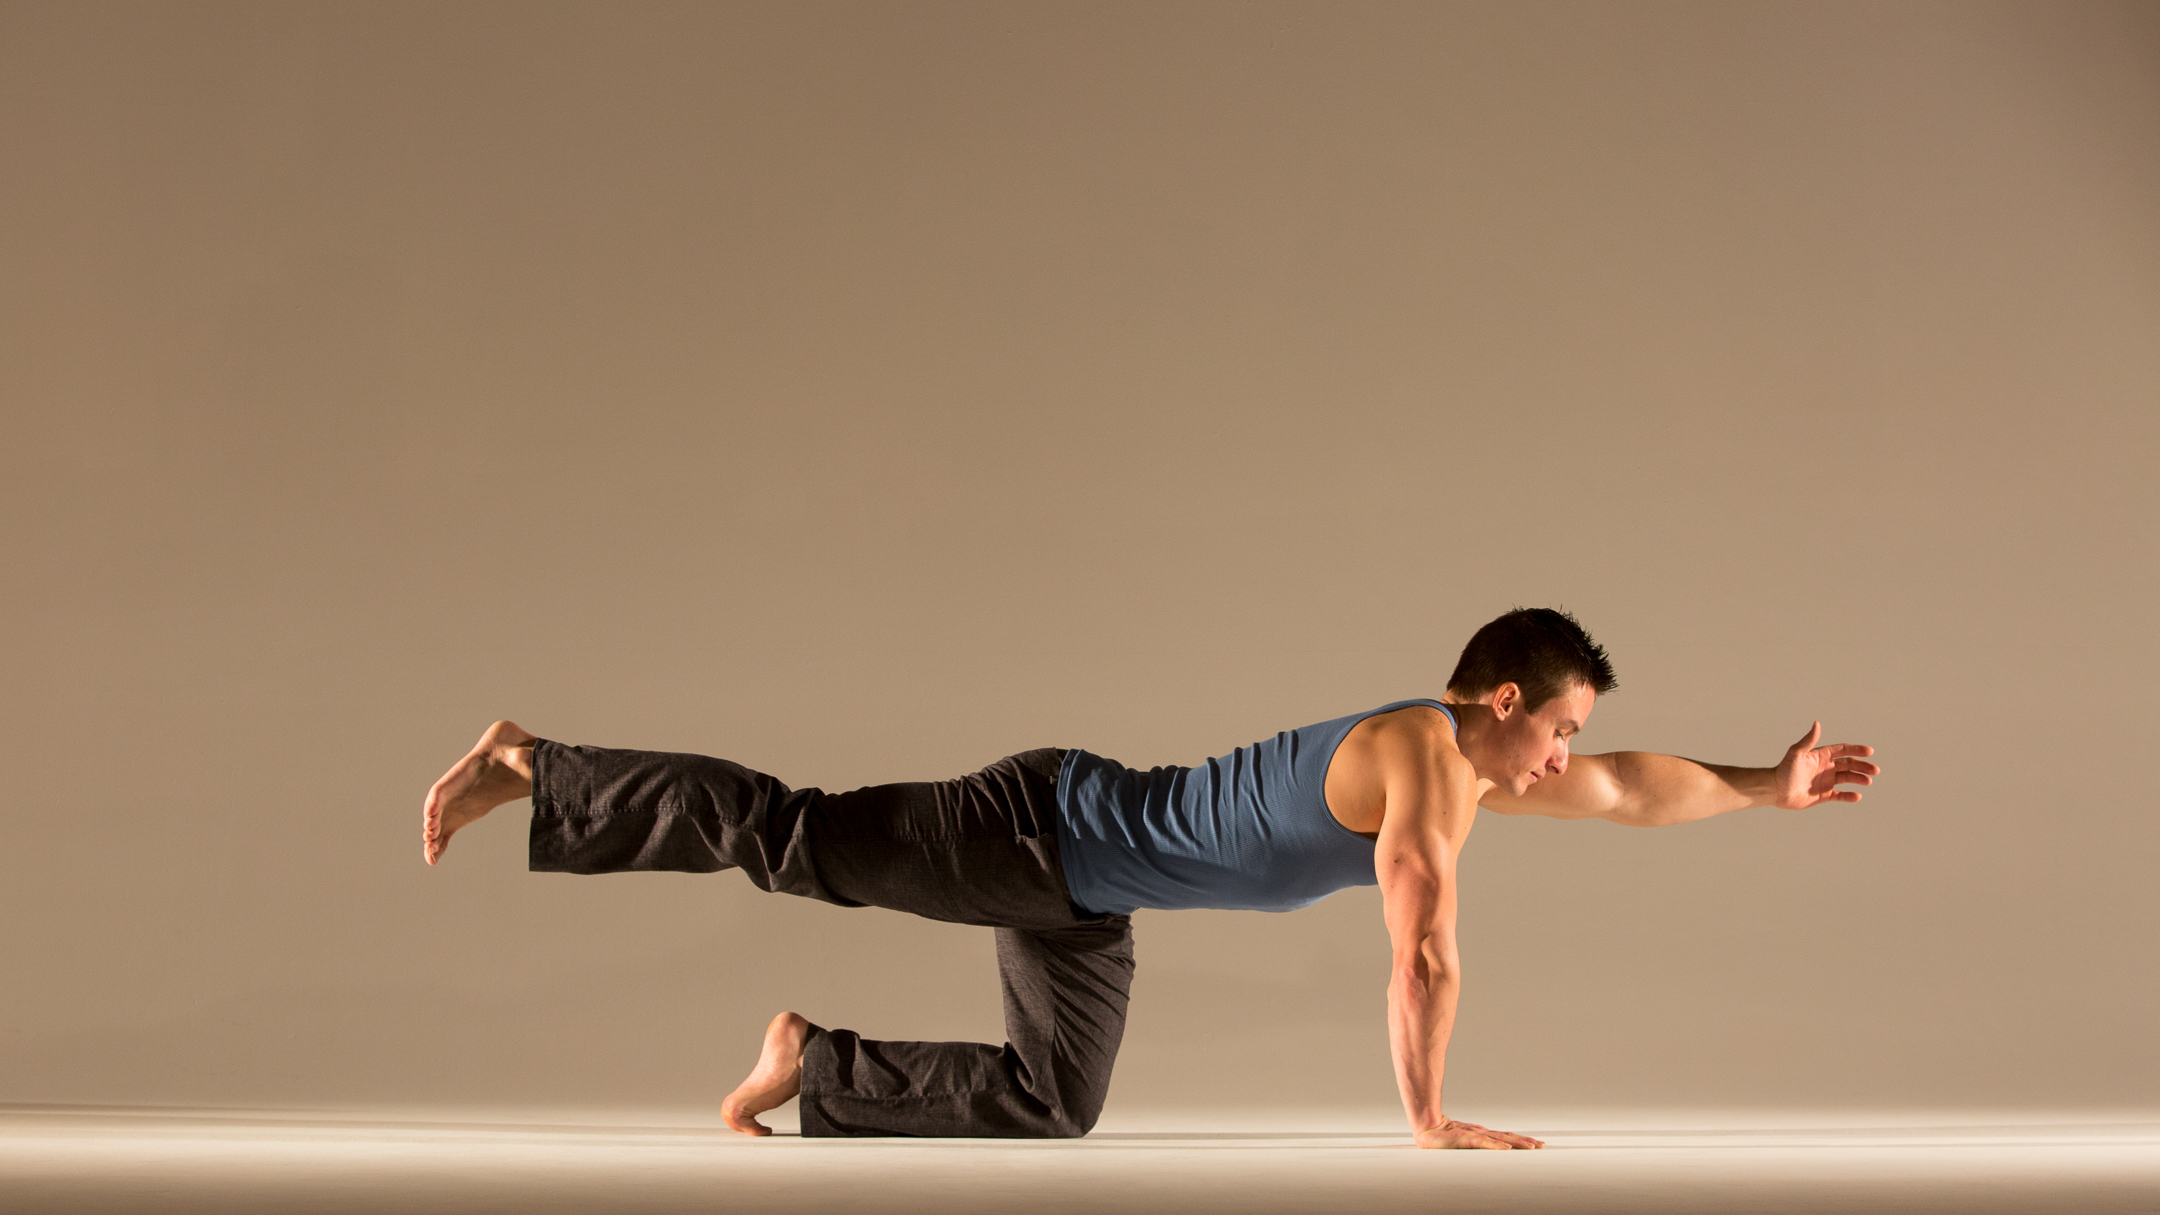
2. Opposite Arm and Leg Extension This pose, also know as "bird dog pose," helps develop a strong back for resistance training exercises. It also strengthens the glutes and abdominals.
Starting on all fours, place your hands and your knees shoulder-width apart. Engage your lower abdominals, and lift your right arm and left leg up off the floor until they are in line with your body. Hold for a few breaths, and then return to all fours and repeat on the other side. Repeat this a few more times (This exercise is most effective if you do a few repetitions on each side.)

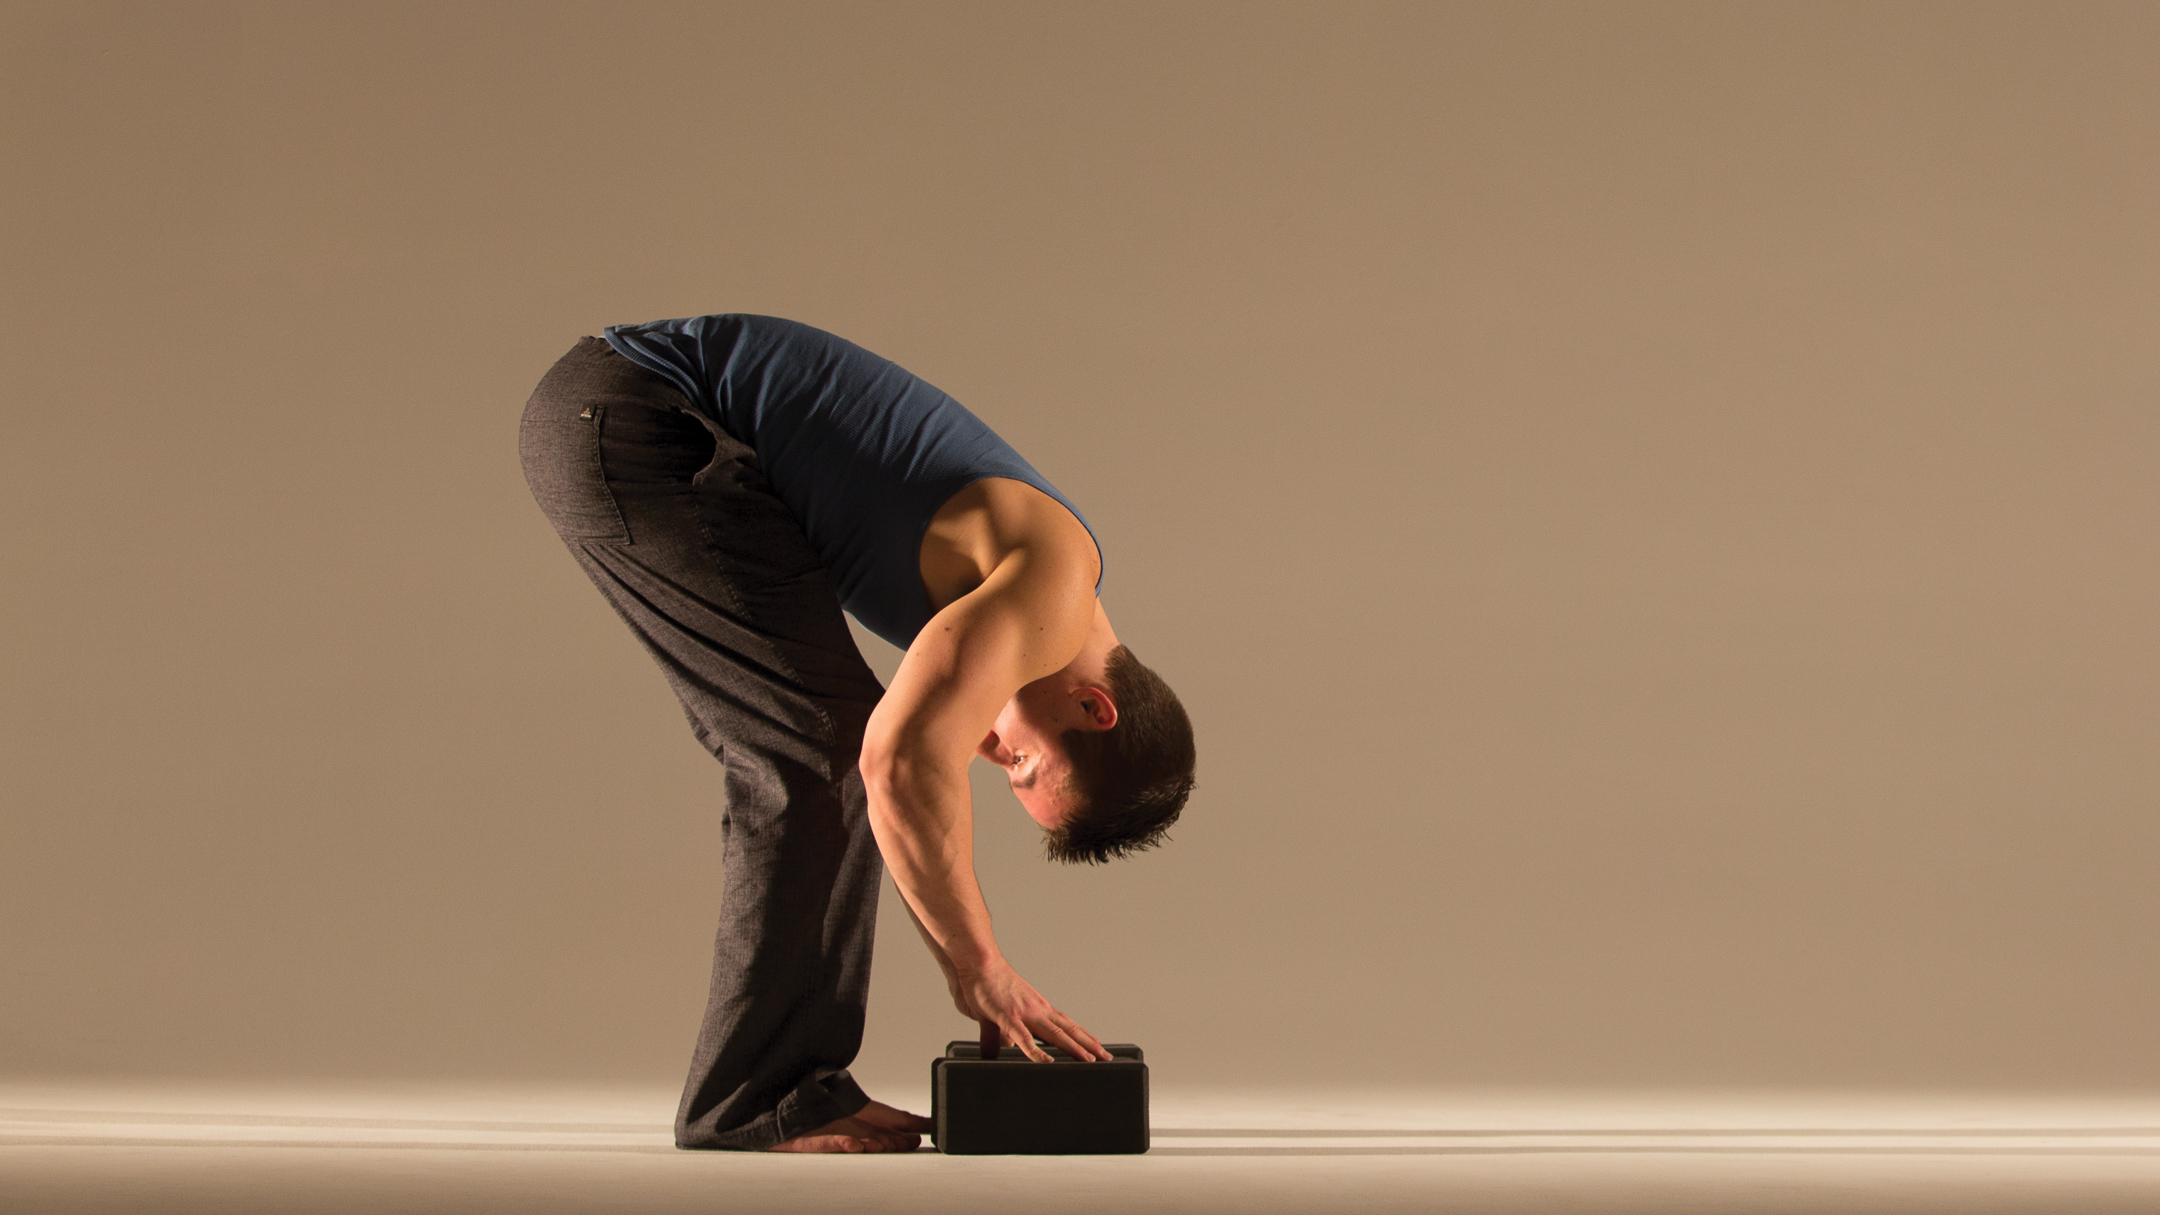
3. Standing Forward Bend (Uttanasana) This pose stretches your hamstrings and the large muscles of the hips that originate on the pelvic girdle. It's also great for releasing the tension that builds up during training.
Start in mountain pose, standing with your feet parallel and hip-width apart, hands on your hips. On an exhale, hinge forward at your hips, lengthening through your spine and torso (it's fine to bend your knees as you do this). Place your fingertips on the floor. If you are unable to touch the floor, maintain safety in the posture by bending your knees until all of your fingertips touch the ground (or bring the ground up to you by placing your hands on blocks). Let your head relax and hang down as you lift your bottom toward the sky. Keep your weight evenly distributed, centering it over the arches of your feet. It's important to prioritize a long spine over straight legs (you may find that bending your knees can help you find more length through your spine).
When you're ready to come out of the pose, bend your knees (if they're not already) and come to a half forward bend. Keep your fingertips on the floor/blocks, or slide your hands up onto your shins as your straighten your arms and lengthen your spine, reaching back through your hips and forward through the crown of your head. Then bring your hands to your hips, pointing your elbows up toward the sky. Keep your spine long as you rise up to stand (avoid rolling up).

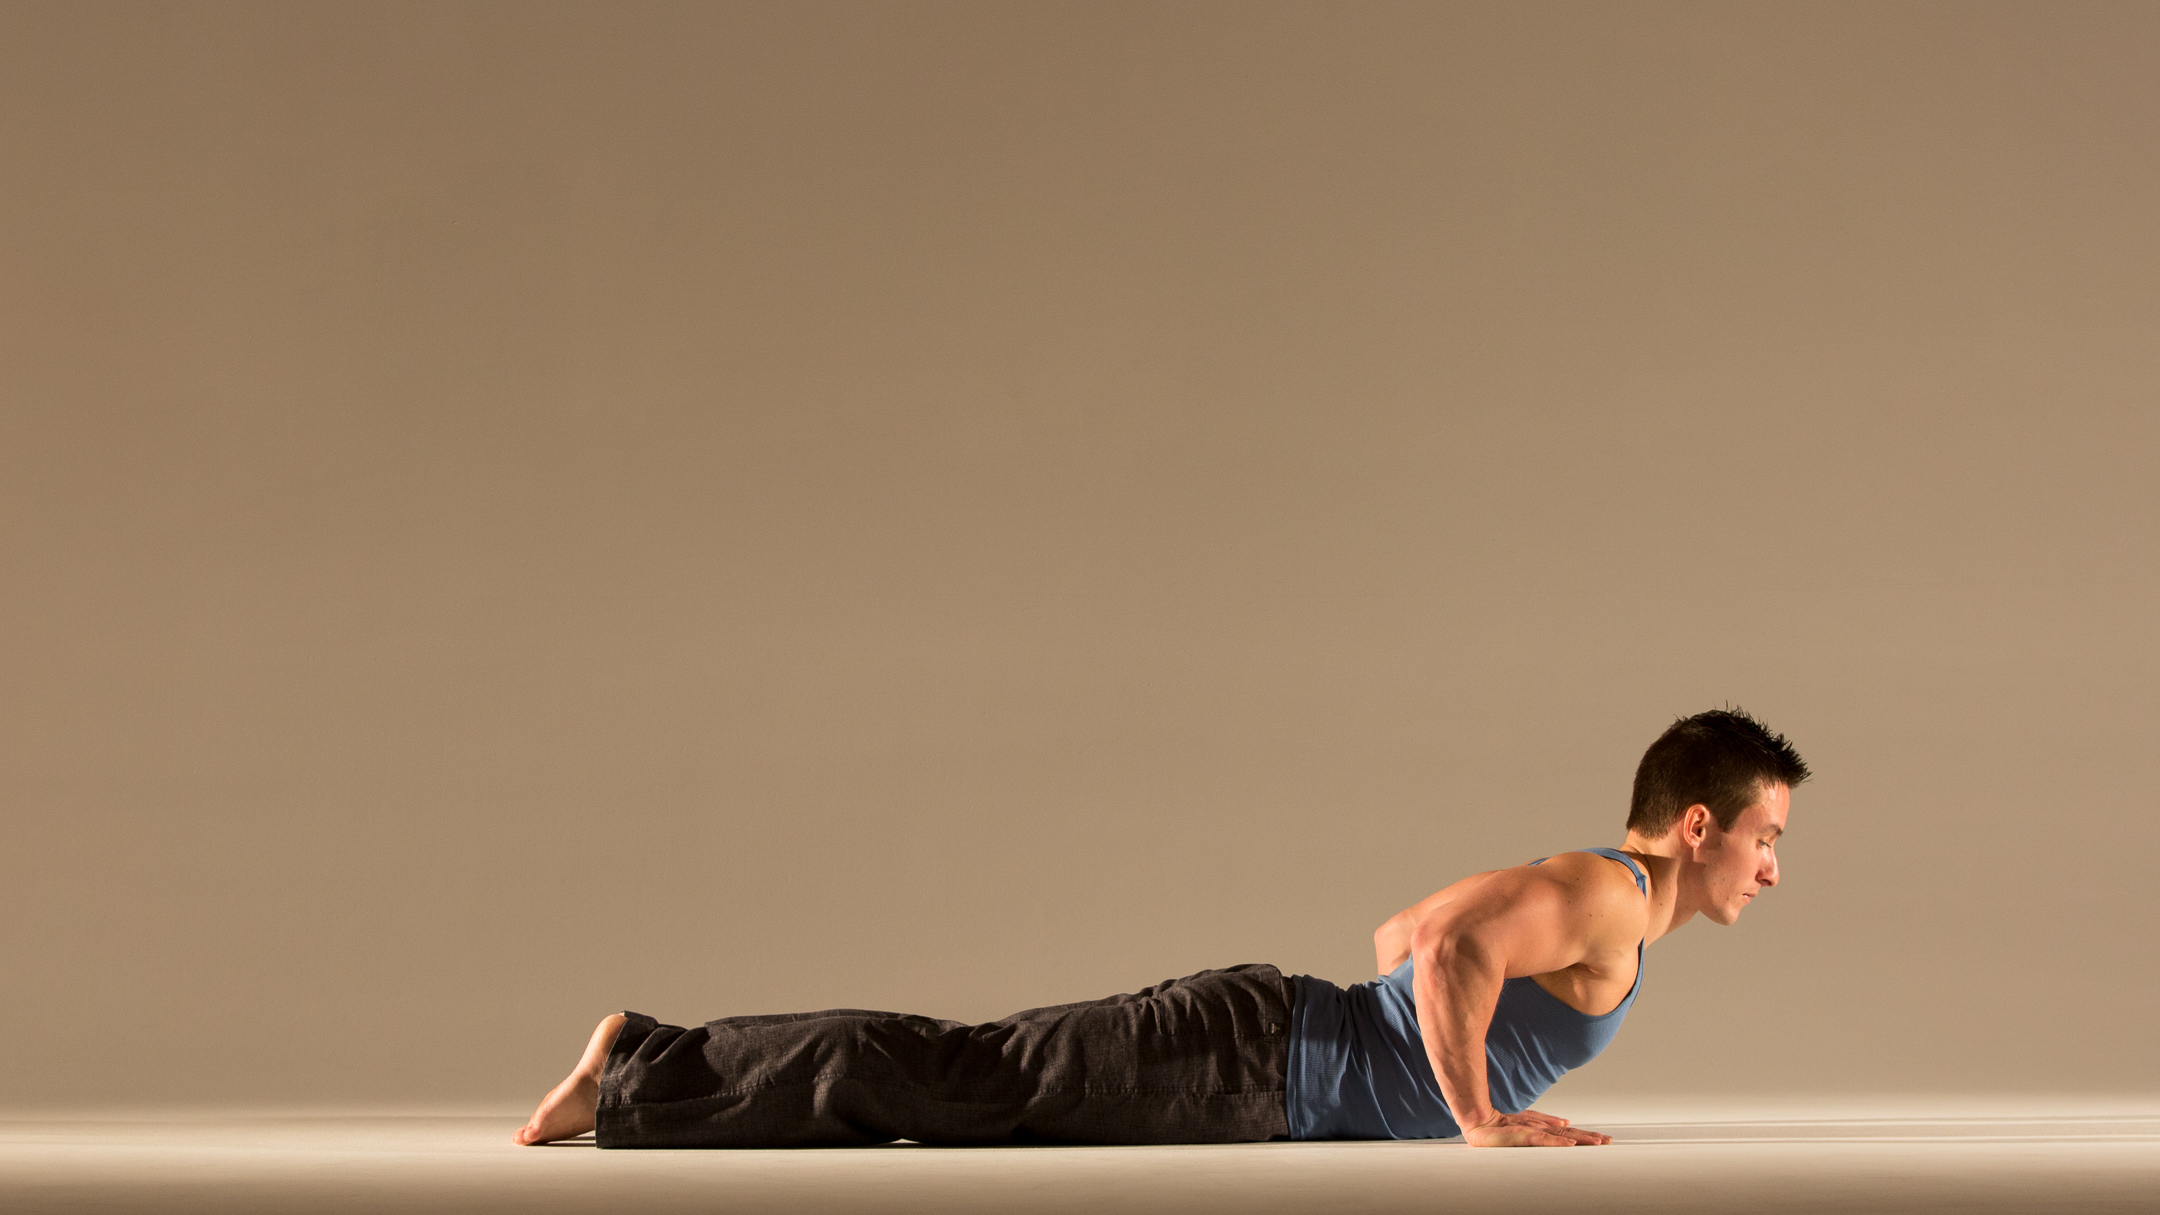
4. Cobra Pose (Bhujangasana) This asana resembles a cobra with its head raised. It's a backbending pose that opens the chest, strengthens the muscles of the spine, and stretches the front of the shoulders and the abdomen. Strengthening the back muscles plays a pivotal role in cultivating certain desirable physical attributes in bodybuilding, such as a well-developed back and torso. It is even said that you can tell if somebody is a bodybuilder based on the condition of their back!
Start with a low cobra: Lying on your belly, place your palms next to your chest on either side, fingertips pointing forward. Stay broad through your chest and don’t allow your shoulders to round forward. Keep the tops of your feet flat on the mat (toes not curled under). On an inhale, begin to lift your chest away from the floor, keeping your hands, hips, and tops of your feet on the mat. Keep your head in line with your spine. Try to hold the pose for a few complete breaths, and then gently release down to the floor. Over time, you can work toward lifting into a higher cobra pose. Just remember that the most important thing is not how high you lift your chest off the floor, but how smoothly you can do so without placing strain on the low back.

5. Legs-Up-the-Wall (or Chair) Pose This is an easy-to-practice pose that helps stretch the backs of your legs. It also has a calming effect that will help you maneuver through the hardships of the day. It's a great way to round out a yoga practice, but can also be practiced on its own.
To practice legs-up-the-wall pose, place a rolled foam mat, rolled thick blankets, or a yoga bolster about six to eight inches from the wall as a support. Sit to the left of your support with the your right hip against the wall, and roll to your right, onto your back, bringing your legs up the wall. You can bend your knees at first, placing the soles of your feet on the wall, and walk them up the wall to straighten your legs again as you slide your butt forward (it may have slid back as you were coming into the pose). With your butt dropping down below the support (either touching the wall or close to the wall), draw your legs as close together as you comfortably can. Extend your arms out along your sides. Relax your face and jaw. If you like, you can support your head and neck with a pillow, low cushion, or folded blanket.
If you don't have a free wall nearby, you can practice practice "legs on a chair pose" instead, with your knees bent, and your lower legs resting on the seat of a chair (see photo below).

Remember: Balance is key to avoiding injury in bodybuilding! Before you gear up for another season of wear and tear at your gym, make sure you allocate a portion of your training regimen to yoga, finding the ideal duet of a powerful mind and a powerful body.
About the Teacher
Demmy James
Demmy James is a fitness buff as well as a strength and conditioning specialist. He is also a content... Read more
Trending Member Content
- Fascia forward yoga approach
- Tools to address imbalances
- Applied anatomy for posture